Dosmans miscellaneious projects
These are photos and descriptions from simple things I've done at Bloominglabs that I wanted to post photos of or document, but a whole page to each item wasn't warranted.
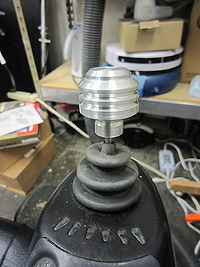
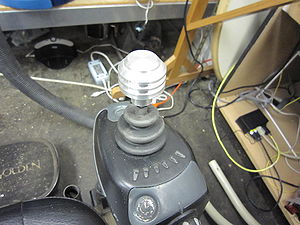
Turned knob for electric wheel chair control
Our electric wheel chair did not come with a satisfying knob on the joystick control so one evening I just turned one for the fun of it. This took about 30 minutes or so to complete. I don't have the skill yet (or the tooling) to turn a sphere/knob on the lathe so I came up with this design just mucking around. I sanded it as well to improve the finish. For the shaft hole, I measured the metal joystick shaft with digital calipers and chose a drill bit slightly smaller than the hole. I then pounded the knob on with a dead-blow hammer.
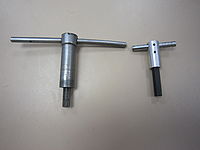
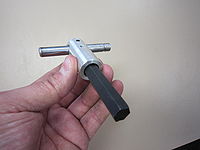
Mini-chuck key for 4-jaw lathe chuck
In order to get prepared for our first machining workshop I put the 4-jaw chuck on the lathe to improve repeatability of centering work on the lathe. The 3-jaw chuck is easy to use but impossible to re-center beyond .02" if you need to remove your work and re-chuck it at any point before you are done with the part. However the independent 4-jaw chuck is frustrating to use for a beginner (myself included) when it comes to centering work in it, but at least you can recenter your work to within .001" repeatably with enough effort. I had read an article suggesting making a second chuck key to be used simultaneously with your original to make it easier to center work in a 4-jaw. Our chuck uses a 7/16" hex shaft, after finding replacements to be way over priced I opted to make my own. The cost is probably around $10. I turned the body of the new key out of 1" aluminum stock on the lathe, then tapped holes for set screws to hold the hex shaft and T-handle. The T-handle was a valve shaft someone had cut off and left lying on the lathe table (someone cut off a half dozen of these and left them, no idea who). I ground the end free of burrs. The smaller size of this 2nd key also helps when working on the far-side of the chuck, the original key tends to make your hand bang the head stock and motor assembly. I'm very pleased with out this turned out, it easily cut the time it takes to center work in the 4-jaw chuck in half, with practice all of us noobs will be centering our work in a minute or less.
Tuning forks
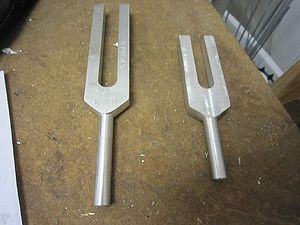
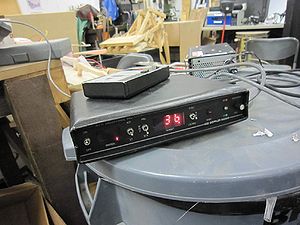
So I have a dash-mount police radar system I picked up at a hamfest years ago (See the Radar sign project). This particular model comes with two tuning forks which trigger the radar at speeds indicated on the tuning forks. There's a 35MPH fork and an 80MPH fork. In stationary mode the radar reads each individual speed. For "mov" or driving mode it reads two speeds. The first speed is the reflection of the road back to the radar which is assumed to be your own vehicle's speed. Then the fastest oncoming speed is subtracted and displayed on the target speed. So with the 35 and the 80 forks going you get a speed of 35 for your speed and 45 for the oncoming car's speed.
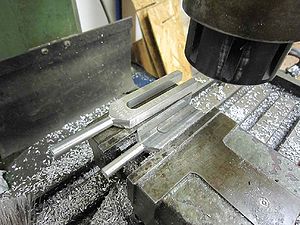
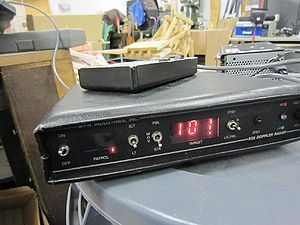
So I decided I wanted to make another tuning fork just to see what the radar would read out. I had some aluminum round stock left over from a machining class so I turned a handle on the lathe and then milled the round stock flat. Lastly I milled a channel down between the forks. For a quick and dirty eye-balled project it came out pretty well. Amazingly it reads 100-101MPH on the radar. Now I'll have to see if there are any formulas for making tuning forks.
This radar is pretty old and you can see that it's starting to get a little out of spec. The factory made tuning forks sometimes read 1MPH over the actual speed. So that means my tuning fork is probably reading exactly 100MPH.
